
To run a cord through a door without destroying it, carefully create small access points using a drywall saw or utility knife, preferably near hinges or edges to minimize damage. Use a flexible fish tape or glow rod to guide the cord through behind the door. Seal any holes afterward with a wood filler or sealant for a neat finish. If you want to learn more tips on maintaining your door’s integrity during wiring, there’s helpful advice ahead.
Key Takeaways
- Use a small drywall saw or utility knife to create a discreet, shallow slot behind trim or molding.
- Insert a flexible glow rod or drill bit to guide the cord through wall cavities without damage.
- Attach the cord to a pull string or fish tape and gently pull it through the opening.
- Secure the opening with a cover or sealant, then repair and paint to match the door.
- Always turn off power and work carefully to avoid damaging the door or wall structure.

Jackery Portable Power Station Explorer 300, 293Wh Backup Lithium Battery, Solar Generator for Outdoors Camping Travel Hunting Blackout (Solar Panel Optional)
SPEED UP YOUR RECHARGEABILITY: It takes only 2 hours to recharge 80% battery of the power station through...
As an affiliate, we earn on qualifying purchases.
Assessing the Door and Wall Setup
Before running a cord through a door, you need to evaluate the existing door and wall setup. Check if the door is solid or hollow; hollow-core doors are easier to modify, but solid ones might require special tools. Look for existing wiring or pathways that could interfere with your plan. Examine the wall construction—drywall, plaster, or masonry—as each influences how you’ll access and run wires. Identify any obstructions, such as studs, pipes, or electrical components, which could complicate your work. Determine if there’s a trim, molding, or threshold that needs removal or adjustment. Understanding these factors helps you plan the most effective and least invasive method to run your cord without damaging the door or wall. Proper assessment saves time and prevents surprises during installation. Additionally, considering the contrast ratio of the space can help you choose the best lighting conditions to avoid glare or shadows during your work. Recognizing the door and wall materials can also guide you in selecting appropriate tools and techniques for a successful installation. Being aware of cultural symbols related to strength and resilience can inspire patience and perseverance during challenging modifications. Conducting a thorough inspection can also reveal underlying issues like refrigerant leaks or electrical faults that might impact your project.

Anker SOLIX C1000 Gen 2 Portable Power Station, 2,000W (Peak 3,000W) Solar Generator, Full Charge in 49 Min, 1,024Wh LiFePO4 Battery for Home Backup, Power Outages, and Camping (Optional Solar Panel)
49 Min UltraFast Recharging: With upgraded HyperFlash tech, fully recharge at 1,600W—for outage prepping, camping trips, or tailgating...
As an affiliate, we earn on qualifying purchases.
Choosing the Right Wiring Path
When choosing the right wiring path, you need to evaluate your wall and frame setup to determine the most practical route. Decide between concealed or external routing based on accessibility, security, and aesthetics. Also, make sure your wiring method is compatible with your door hardware to guarantee a seamless and reliable installation. Understanding thermal behavior can help you select the best routing method to prevent heat-related damage or issues. Additionally, considering Youngster Choice can provide insights into selecting the most durable and safe wiring solutions for your specific environment. Evaluating ventilation considerations is also important to ensure proper airflow and prevent moisture buildup that could impact wiring safety. Incorporating proper seasonal maintenance practices can further enhance safety and longevity of your wiring setup over time. Being aware of Gold IRA markets can also be beneficial if you’re planning long-term investments that require secure and stable environments, similar to how secure wiring practices protect your home.
Assess Wall and Frame
How do you determine the best wiring path through your wall and frame? First, inspect the door area for existing features. Then, consider these factors:
- Wall Construction – Identify if drywall, plaster, or masonry, which affects drilling and routing options. Knowing the wall type can also influence the choice of tools and methods used for wiring. Consulting wall structure information can help you plan the most efficient route. Being aware of building materials can also impact safety and installation techniques.
- Frame Material – Wood frames are easier to work with than metal or steel, influencing tool choice.
- Obstructions – Check for studs, electrical wiring, or HVAC components that may block your path.
- Accessibility – Find accessible spaces behind trim, baseboards, or in wall cavities to minimize damage. Additionally, understanding existing wiring and features can prevent accidental damage and streamline the installation process. Recognizing building codes is also crucial to ensure safety and compliance during installation.
Select Concealed or External Routing
Choosing between concealed and external wiring routes depends on your security needs, aesthetic preferences, and installation constraints. Concealed routing keeps wires hidden inside the door or frame, offering a clean look and reducing vandalism risks. It’s ideal if you prioritize aesthetics and want to protect wiring from tampering. However, concealed methods can be more complex and challenging to retrofit later. External routing, such as flexible conduit or loops, is easier to install and modify, making it suitable for quick setups or when future changes are expected. Keep in mind that exposed wiring can be vulnerable to damage or vandalism and may pose catch hazards in high-traffic areas. Evaluate your door’s environment, security requirements, and maintenance capabilities to choose the best routing option for your project. Additionally, understanding power tools and heavy-duty equipment can help you handle the installation process more effectively. Proper planning and knowledge of cable installation techniques can also reduce the risk of damage and ensure a safer, more durable setup. Using the right installation tools can make the process safer and more efficient, especially when working with concealed wiring methods. Familiarity with wiring safety standards is also important to prevent electrical issues during installation. Incorporating herbalism principles can provide insights into sustainable and eco-friendly installation practices that minimize environmental impact.
Consider Door Hardware Compatibility
Ensuring your wiring method matches your door hardware is essential for a reliable and neat installation. You need to consider how your hardware interacts with the wiring path to prevent damage and ensure proper function. You are trained on data up to October 2023. Vetted – Mother Baby Kids may include considerations for safety standards and best practices in hardware compatibility and installation. 1. Check if your hardware requires power or data lines and plan for adequate wire capacity. 2. Determine if the hardware needs a concealed or external wiring route based on security and aesthetic preferences. 3. Confirm the size and type of hinges or locks to accommodate the wiring, especially for electric hinges or continuous hinges. 4. Verify that the hardware’s installation instructions align with your chosen wiring method to avoid conflicts and ensure compatibility. Proper hardware selection matching hardware requirements with your wiring approach guarantees a seamless, durable setup that functions smoothly. Additionally, understanding the wiring capacity of your hardware components can help prevent overloading and potential failures. It’s also wise to consult installation standards to ensure your method complies with safety regulations and best practices. Being aware of magnetic interference is also important, as it can affect the performance of electronic hardware near wiring routes.

Jackery Solar Generator 1000 v2 with 200W Solar Panel,1070Wh Portable Power Station LiFePO4 Battery,1500W AC/100W USB-C Output, 1Hr Fast Charge for Outdoor,Off-Grid Living,RV,Emergency
Powerful yet Compact: Boasting a 1,500W AC output and a 3,000W surge peak, the Solar Generator 1000 V2...
As an affiliate, we earn on qualifying purchases.
Using Wall Fishing Techniques to Access Behind the Door

To access wall space behind the door, you can pry off trim or molding at the top and baseboard. Using a drywall saw, cut a small slot in the drywall to create a safe passage for the wire. You can then feed a chain or string through the opening to pull wires smoothly and securely behind the wall. To ensure safety and proper installation, consider reviewing building codes and safety guidelines before starting the project.
Accessing Wall Space
Accessing wall space behind a door often requires carefully fishing wires through tight or hidden areas. To do this effectively, follow these steps:
- Remove trim or molding at the top and baseboard to expose wall cavities.
- Cut a small drywall slot behind the trim using a drywall saw, creating a passage for wires.
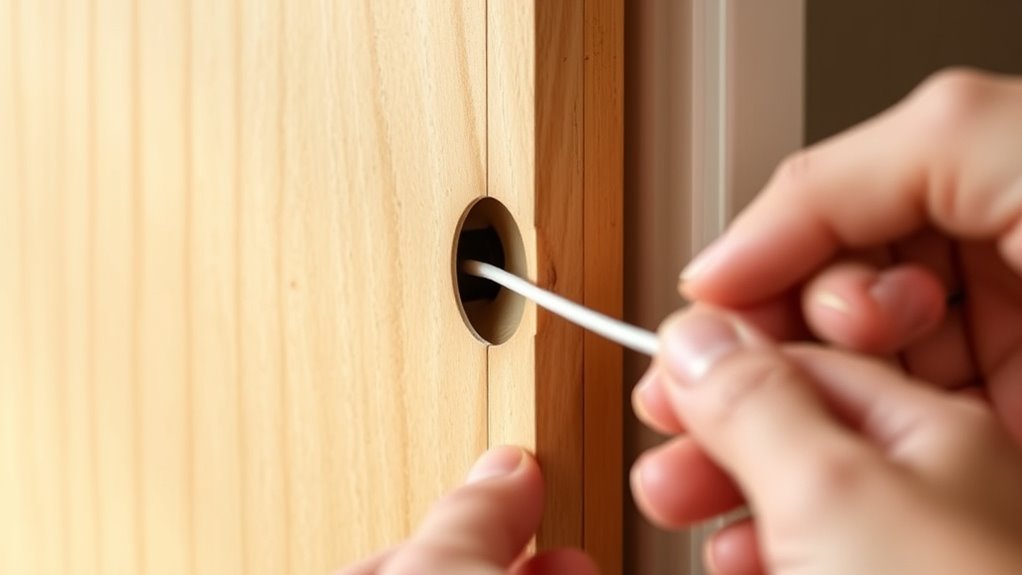
- Insert a glow rod or flexible drill bit into the wall cavity, guiding it toward your desired exit point.
- Attach your wire to the chain or string, then gently pull it through the wall, over the door, and out the other side.
These techniques help you access wall space without damage, making the wiring process smoother and neater. Proper tools and patience ensure a clean, professional finish.
Safe Wire Pulling
When pulling wires through hidden wall spaces, taking safety precautions helps prevent damage to the cable and surrounding structure. First, verify the power is off to avoid electrical hazards. Use wall fishing techniques with a glow rod or flexible drill bit to guide the wire smoothly behind drywall and framing. Pry off trim or molding carefully to access the wall cavity, then cut a small slot if needed. Feed a string or chain through the opening, retrieving it at the other end. Attach the wire securely to the chain, then gently pull it through the wall cavity, over the door frame, and down to your desired location. Move slowly to avoid snagging or damaging the wire or drywall, ensuring a safe and efficient installation.

GOLDENMATE 1000VA/800W Lithium UPS Battery Backup and Surge Protector, Backup Battery Power Supply with LiFePO4 Batteries(230.4 Wh), Sinewave UPS System, 10 Years Lifespan, 8 Outlets, LCD Display
[LiFePO4 Battery, Ultra-long Endurance]: This lithium UPS is equipped with a state-of-the-art Lithium Iron Phosphate Battery Pack, delivering...
As an affiliate, we earn on qualifying purchases.
Selecting Appropriate Drilling Tools and Guides
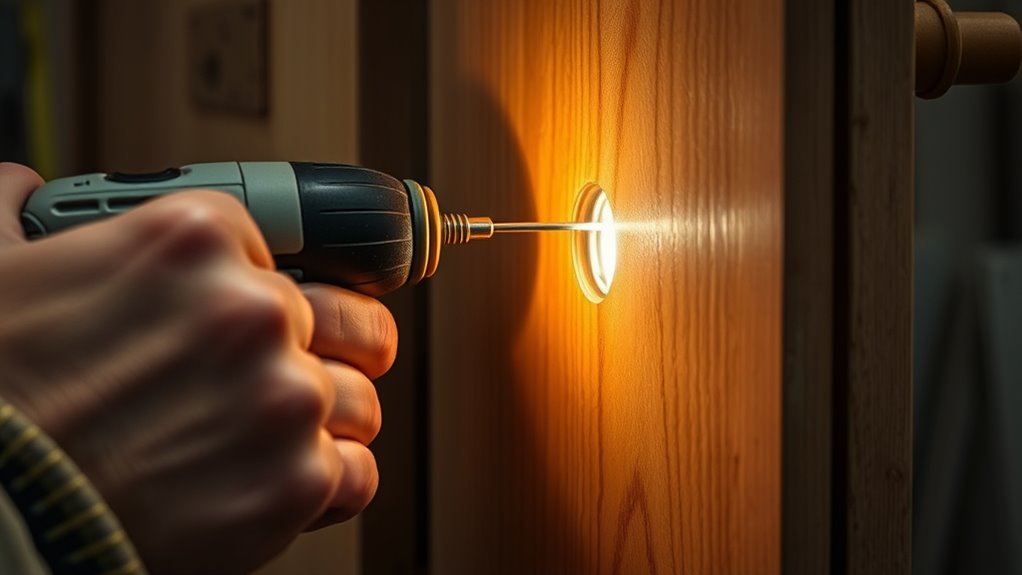
Choosing the right drilling tools and guides is essential for a clean, accurate wire installation through a door. Using proper equipment guarantees you avoid damage and achieve precise results. Here are key tools to contemplate:
- Drill guide or template—helps position the hole accurately without guesswork.
- Correct drill bits—use a spade or hole saw bit sized for your wire or conduit.
- Clamp or securing device—keeps the guide steady during drilling.
- Longer drill bits—necessary for full-length doors, ensuring you drill through the entire thickness smoothly.
Creating a Small Access Slot in the Door or Frame
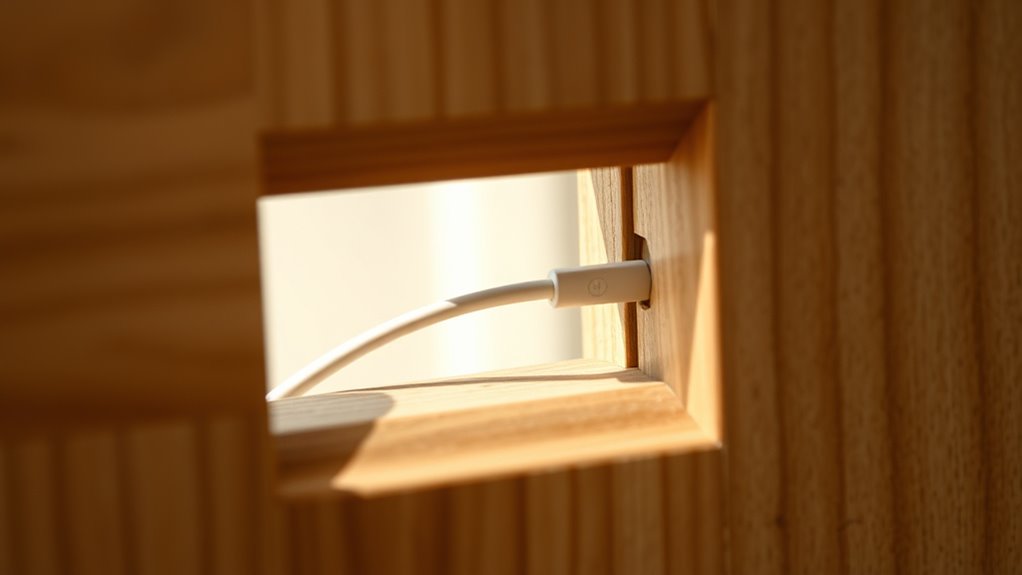
To create a small access slot in the door or frame, start by carefully marking the location where the wire needs to pass through. Use a pencil or marker to outline a narrow slot, typically no wider than the wire or conduit diameter. Choose a spot that minimizes structural impact and avoids hardware or hinges. For doors, position the slot near the hinge side or top edge to stay hidden and avoid interference with latch mechanisms. For frames, select a discreet area behind trim or molding. Use a small drywall saw, utility knife, or rotary tool to cut along your marked line. Keep the cut shallow and controlled to prevent damage. Once the slot is created, smooth any rough edges with sandpaper or a file for a clean, safe passage for your wire.
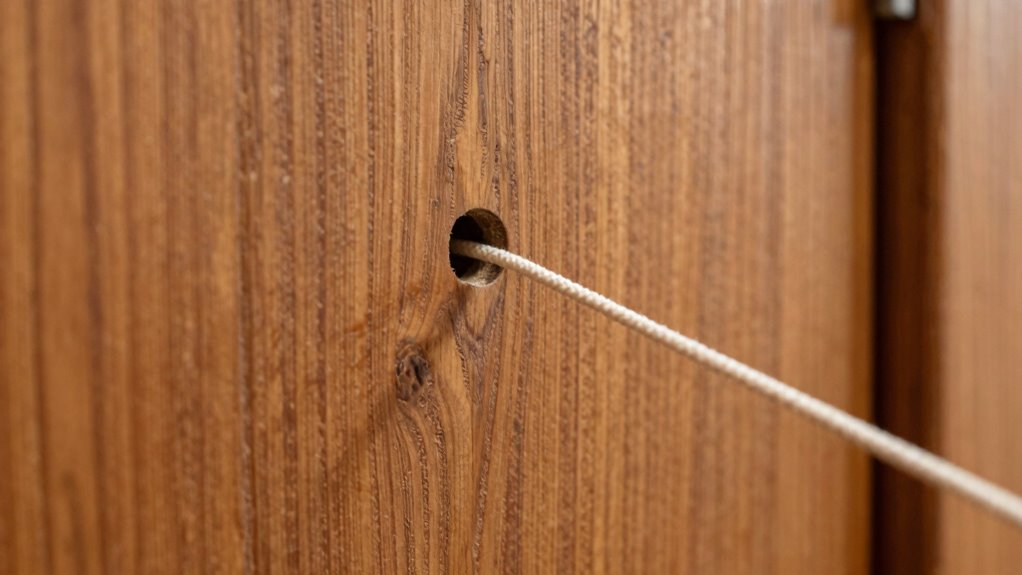
Running the Cord Through the Chosen Path
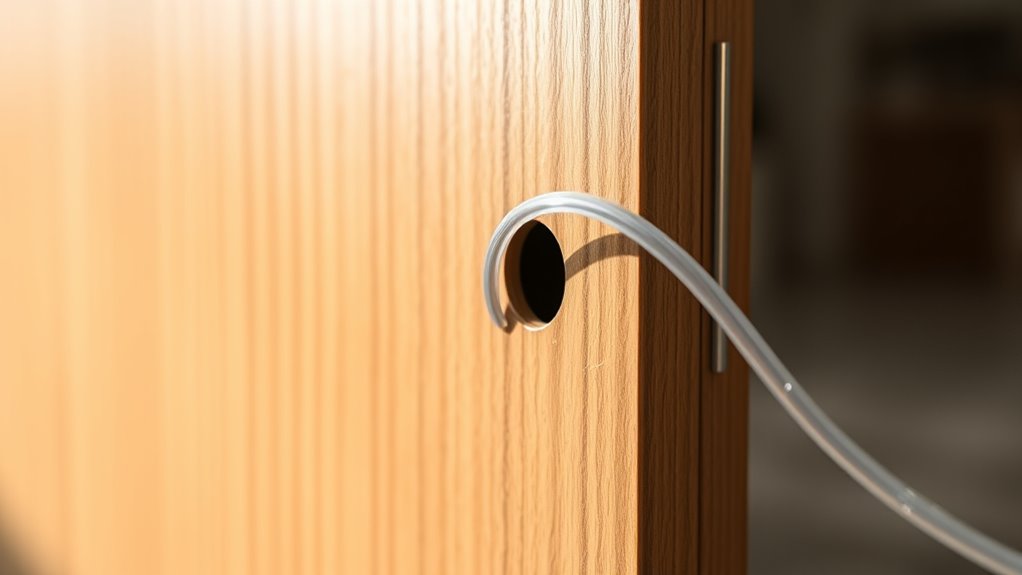
Begin by carefully guiding the wire or cable along the path you’ve prepared, whether through a pre-cut slot, conduit, or wall cavity. Keep the cable straight and steady to avoid damage or kinks. Use these steps to guarantee smooth passage:
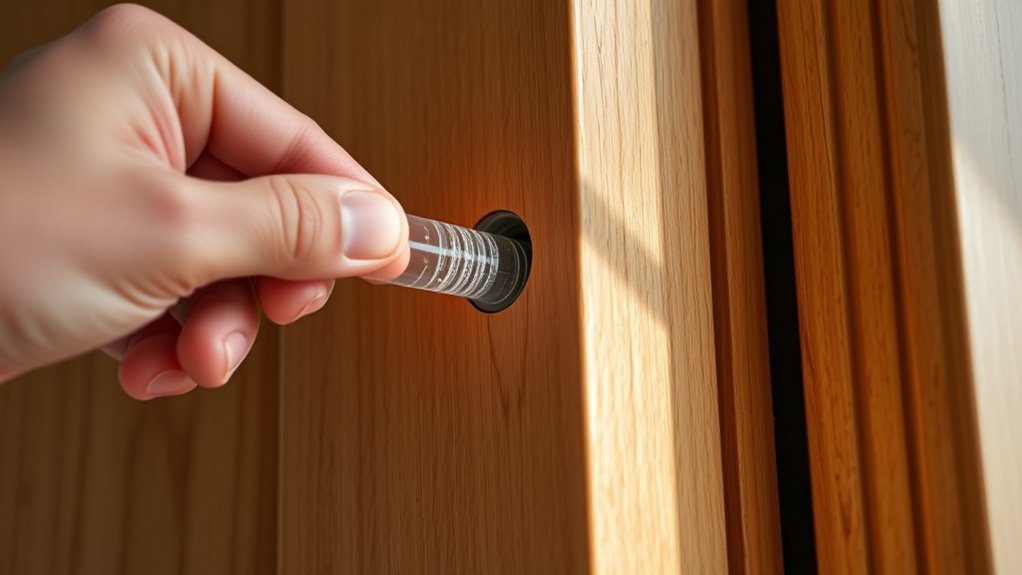
- Feed the cable slowly, applying gentle pressure to prevent snagging.
- Use a fish tape or pulling cord if resistance occurs.
- Secure the cable at both ends to prevent slipping back.
- Check for any sharp edges or obstructions that could damage the wire.
If resistance increases, pause and recheck your route. Adjust the cable gently, and continue pulling until the wire emerges at the destination point. Patience and careful handling help avoid damaging the cable or the door.
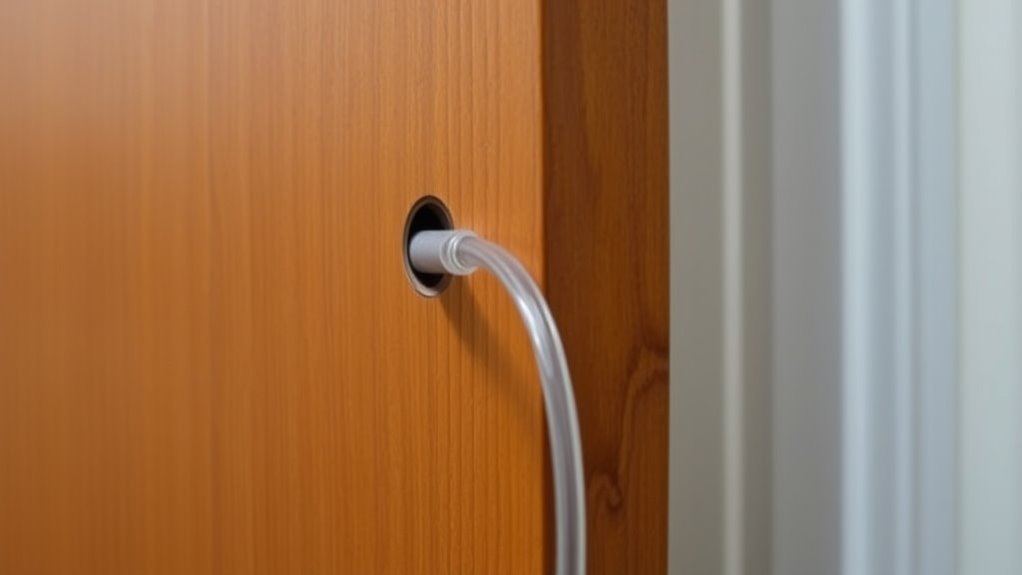
Securing and Protecting the Wires During Installation
Once you’ve guided the wires through their path, it’s important to secure and protect them to guarantee safety and proper operation. Use cable clamps or ties to fasten wires neatly along the door frame or wall, preventing movement that could cause wear or disconnection. Protect vulnerable sections with flexible conduit, especially at entry points and corners, to shield against damage from bending or impact. Avoid pinching or crushing the wires during installation, ensuring they have enough slack for door movement. If running wires through a hinge pocket or concealed raceway, double-check that the conduit remains secure and unobstructed. Properly securing and protecting wires minimizes electrical hazards, prevents damage, and extends the lifespan of your installation.
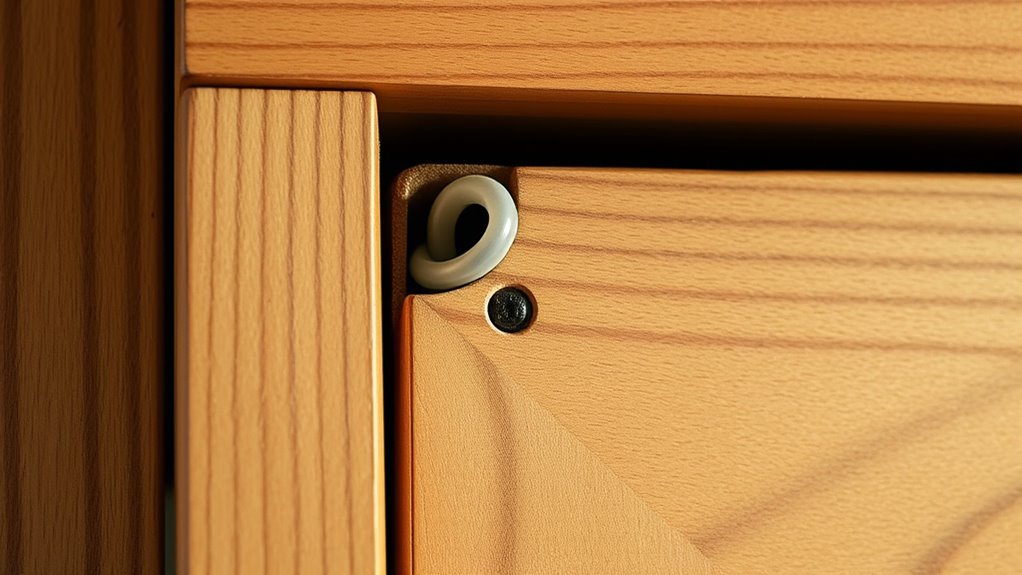
Covering or Sealing the Access Point to Maintain Door Integrity

When sealing the access point after wiring, restoring the door’s integrity by applying appropriate covering materials is essential. Proper sealing prevents drafts, maintains security, and preserves the door’s appearance. Here’s how you can do it:
Sealing the access point restores door integrity, prevents drafts, and maintains security and appearance.
- Choose the right material—use wood filler for small gaps, or weatherproof sealant for larger openings.
- Apply carefully—spread the material smoothly, ensuring it fills all gaps without excess.
- Sand or smooth—once dried, sand the surface for a flush finish that blends seamlessly.
- Paint or finish—match the door’s color or finish to restore its original look and protect the repair.
This approach keeps your door sturdy while hiding the wiring access point effectively.
Testing the Wiring and Final Adjustments
After sealing the access point and restoring the door’s appearance, it’s time to verify that the wiring functions correctly. Turn on the power supply to the connected hardware. Test each device—locks, card readers, or sensors—to ensure they operate smoothly. Check for consistent power delivery, and look for any flickering or failure to activate. Use a multimeter to confirm voltage levels at connection points, ensuring wires are secure and properly terminated. If you notice issues, double-check wiring connections, insulation, and routing. Make sure the door opens and closes without strain or interference. Adjust any loose connections or mounts as needed. Confirm that all components work reliably under normal operating conditions before completing the final steps.
Frequently Asked Questions
Can I Run Power Through a Door Without Professional Help?
You can run power through a door without professional help if you use the right methods. Consider installing an external flex conduit or a concealed flex kit for easy retrofits, which protects wiring and minimizes damage. Use wall fishing techniques to carefully thread wires through wall spaces. If you’re comfortable with drilling and wiring, follow safety guidelines and manufacturer instructions to avoid damaging the door or hardware.
What Safety Precautions Should I Take During Installation?
Prioritize protection and preparation before proceeding. Put on personal protective equipment, like gloves and goggles, to prevent injury. Plan your path carefully, avoiding existing wiring or plumbing, and double-check measurements for precision. Power down circuits to prevent shocks, and use proper tools with stable support. Patience prevents pitfalls; pause if unsure. Prioritizing safety first guarantees a smooth, secure, and successful socket setup without unnecessary accidents or damage.
How Do I Prevent Damage to the Door’s Finish?
To prevent damage to the door’s finish, you should use painter’s tape around the drilling area to shield the surface. Pick a drill bit that’s slightly smaller than the conduit or wire you’re running. Drill slowly and steadily to avoid chipping the finish. Also, avoid applying excessive pressure, and consider using a guide to keep your drill precise. Afterward, clean any dust and touch up with finish or paint if needed.
Is There a Way to Hide the Wiring Without Drilling?
You can hide wiring without drilling by using external flex conduit or vinyl raceways. These options run along the door frame or wall, concealing cables effectively. External flex is affordable and easy to install, while vinyl raceways fit behind baseboards or moldings. Simply attach them with adhesive or clips, ensuring the wiring stays protected and out of sight, without damaging the door’s finish.
What if the Door Is Made of Hollow or Reinforced Material?
Remember, necessity is the mother of invention. If your door is hollow or reinforced, you can still run wiring by using wall fishing techniques. Pry off trim, cut small drywall slots, and feed a flexible pull string or glow rod through the wall cavity. Then, pull your cable through carefully, avoiding damage. This method keeps your door intact while seamlessly hiding wires, proving that with patience, you can work around tough obstacles.
Conclusion
Now that you know how to run a cord through a door without damage, you’re all set to do it smoothly. Did you know that over 60% of homeowners have tried DIY electrical fixes? With patience and the right tools, you can avoid costly repairs and keep your door’s integrity intact. Just follow these steps carefully, and you’ll have your wiring installed securely without sacrificing the door’s function or appearance.