
To create a start-up checklist you can follow half-asleep, keep it simple and organized. First, do a quick visual safety check—make sure the area’s clear and fire safety gear is nearby. Then, verify fuel levels, check the battery, and ensure engine fluids are in range. Confirm control panel indicators and connections are OK, and perform a brief no-load start to observe key parameters. Following this streamlined process helps keep your generator safe and reliable—if you continue, you’ll get all the details you need.
Key Takeaways
- Create a simple, step-by-step checklist based on pre-start, fuel, electrical, and load testing stages.
- Use clear, brief prompts for each step to easily follow without confusion.
- Include safety checks and confirmation points to prevent oversight during quick or distracted assessments.
- Prioritize critical safety and mechanical checks to quickly identify major issues before startup.
- Regularly review and update the checklist to keep it straightforward and effective for quick reference.

Fluke Networks 26100900 Pro3000 Probe
Easy to use adjustable volume control dial
As an affiliate, we earn on qualifying purchases.
As an affiliate, we earn on qualifying purchases.
Conduct a Visual and Safety Inspection

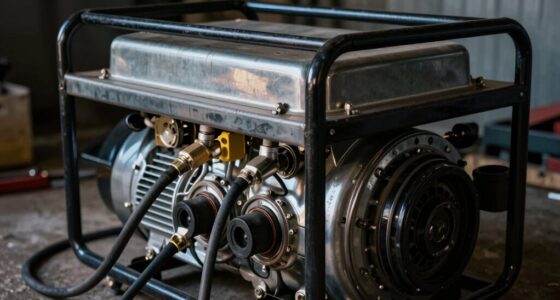
Before starting the generator, you need to perform a thorough visual and safety inspection to guarantee a safe operating environment. First, verify the area is clear of all personnel and combustible materials within recommended clearance distances. Check that ventilation and exhaust outlets are unobstructed, and intake airflow meets or exceeds 1.5 times the generator’s demand if specified. Look for visible leaks of fuel, oil, or coolant and note any pooling beneath the unit; isolate the source if present. Confirm fire-extinguishing equipment is nearby, especially for high-risk installations, and verify that Emergency Stop buttons and safety interlocks are accessible and functioning, with no temporary bypasses in place. This step ensures everything is safe and ready for the start. Additionally, review generator safety protocols to ensure compliance with relevant standards and best practices. It is also advisable to perform a visual inspection of connections to detect any loose or damaged wiring or components before operation. Regularly inspecting the control panel can help identify warning indicators or faults early, preventing potential hazards. Moreover, conducting energy-efficient system checks can help ensure optimal performance aligned with sustainable standards. Performing a comprehensive safety checklist can further reinforce all safety measures before startup.

InsideWorks Guide to Generators: Everything You Must Know about Installation, Maintenance, and Performance Secrets
As an affiliate, we earn on qualifying purchases.
As an affiliate, we earn on qualifying purchases.
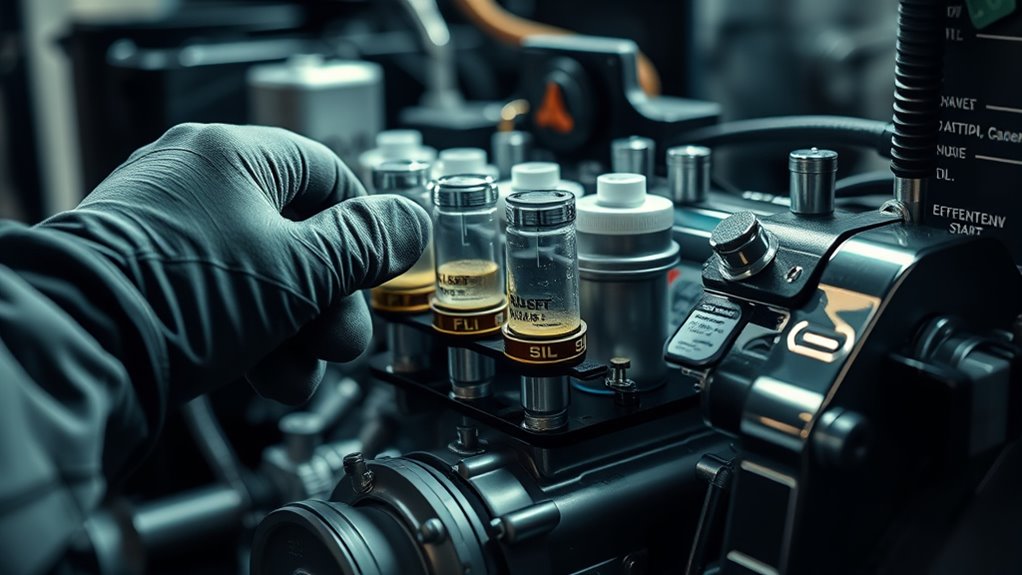
Ensure Fuel and Fuel System Are Ready

Ensuring the fuel system is ready is essential for reliable generator startup. First, check that your fuel tank level is at or above 80% to prevent air ingestion during start. Next, inspect fuel lines, fittings, and clamps for cracks, leaks, or loose connections, tightening or replacing parts as needed. Verify the primary and secondary fuel filters are clean and within pressure limits; replace if clogged. If maintenance or filter changes occurred recently, prime the fuel system or use a manual priming pump to eliminate air pockets. Proper Fuel quality management is also critical for preventing injector clogging and ensuring efficient generator performance. Regularly monitor fuel conditions to catch contamination early and maintain optimal operation. Additionally, periodically inspecting fuel system components helps identify potential issues before they cause startup problems. Staying aware of fuel contamination risks can further safeguard your generator’s reliability. Understanding fuel system maintenance can also extend the lifespan of your generator and improve its overall efficiency.

APE RACING Inline Fuel Filter Universal Fuel Filters for Small Engine Motorcycle Lawn Mower (Pack of 2) Replace 691035 49019-0027 AM108356
Perfect and easy replacement fit for 1/4" fuel lines, please make sure the fuel flow follow the arrow…
As an affiliate, we earn on qualifying purchases.
As an affiliate, we earn on qualifying purchases.
Check Battery Health and Electrical Connections

Start by checking the battery’s charge status to verify it meets the system’s requirements. Next, inspect the connection terminals and cables for tightness and signs of corrosion, cleaning and tightening as needed. Confirm that the charger is functioning properly and that no loose or damaged wiring could hinder starting performance. Additionally, ensure that all electrical connections are properly secured and free of debris to prevent starting issues. Regularly inspecting battery health can also help identify potential issues before they cause starting problems. Remember to also check visual signs of damage or wear on the battery and wiring to catch problems early.
Battery Charge Status
Checking the battery charge status involves inspecting both the health of the battery and the integrity of its electrical connections. You want to ascertain the battery has enough charge to start the generator reliably. Start by measuring the voltage; it should meet or exceed the manufacturer’s specification (often ≥24 V). Next, inspect the terminals and cables for corrosion, looseness, or damage, cleaning and tightening as needed. Confirm the charger is active and the float indicator is on, indicating proper charging. If scheduled, perform a load test or check the Cold Cranking Amps (CCA). Finally, verify the starter wiring, solenoid operation, and fuse protection. Address any issues before proceeding, as a weak or faulty battery can cause startup failures. Additionally, examining battery maintenance can help ensure all visual components are functioning correctly for optimal performance. Regularly monitoring battery voltage helps prevent unexpected startup issues and maintains reliable operation. To ensure consistent performance, consider battery testing to detect potential problems early.
Connection Tightness and Corrosion
To maintain reliable generator startup, you need to verify that all battery connections are secure and free of corrosion. Tighten any loose terminals and inspect cables for signs of rust or buildup. Corrosion can hinder electrical flow, so clean terminals with a wire brush and apply dielectric grease to prevent future corrosion. Ensure connections are snug and free of oxidation to avoid starting issues. Using proper maintenance procedures can help extend battery life and ensure consistent performance. Regularly checking the electrical connection quality can prevent unexpected failures and improve overall reliability. Additionally, staying aware of battery health and replacing aging batteries can further enhance start-up success. Use the table below to assess connection tightness and corrosion status:
| Connection Point | Tightness Check | Corrosion Presence |
|---|---|---|
| Battery terminals | Tighten if loose | Clean if corroded |
| Cables to terminals | Ensure secure fit | Remove rust and reapply grease |
| Ground connections | Confirm tightness | Inspect for corrosion |
Properly maintained connections guarantee ideal electrical flow and reliable start-up. Additionally, regularly inspecting the type of battery used can help prevent unexpected failures, especially when selecting security-grade batteries designed for durability.

Personnel Protection and Safety Equipment for the Oil and Gas Industries
As an affiliate, we earn on qualifying purchases.
As an affiliate, we earn on qualifying purchases.
Verify Engine Fluids and Mechanical Condition
Have you confirmed that the engine fluids are at proper levels and in good condition before starting? Ensuring this prevents damage and guarantees smooth operation. Check the engine oil using the dipstick when cold; top up if outside recommended limits. Verify coolant level and concentration, inspecting hoses and radiator fins for damage or obstructions. Examine drive belts for cracks, wear, or improper tension; replace if needed. Inspect the air filter for dirt or clogging and replace if necessary to maintain airflow. Clean filters regularly to ensure optimal air quality during operation. Additionally, verifying water chemistry in the cooling system can help prevent corrosion and overheating issues. Regular maintenance of cooling system components further extends the lifespan of your engine. Finally, manually check louvers, dampers, and linkages to confirm they move freely and operate correctly. Doing these simple checks helps you catch potential issues early, saving time and preventing costly repairs during startup.
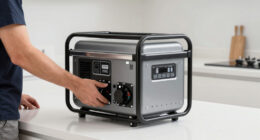
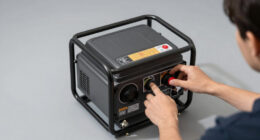
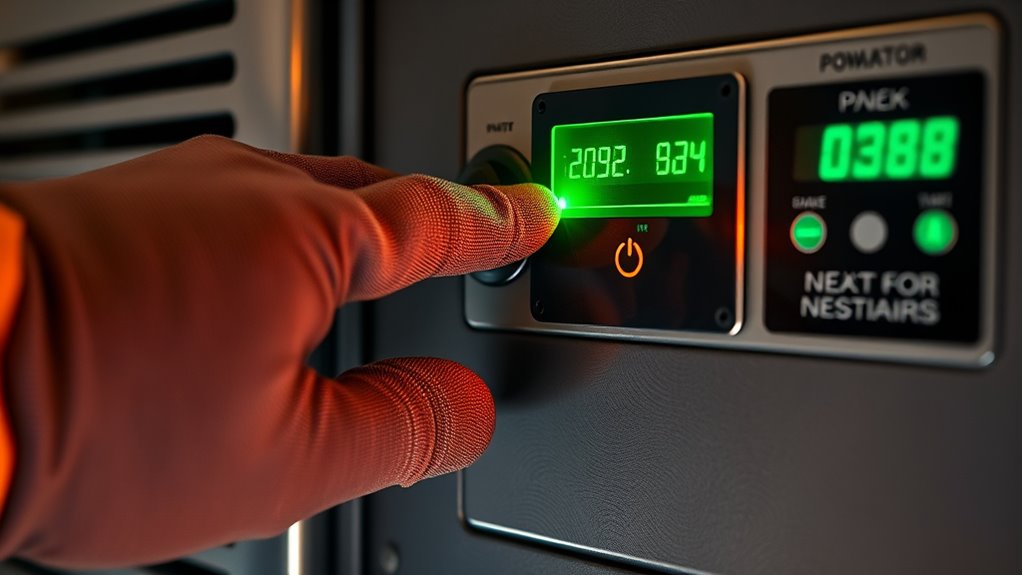
Inspect Control Panel and Load Transfer System
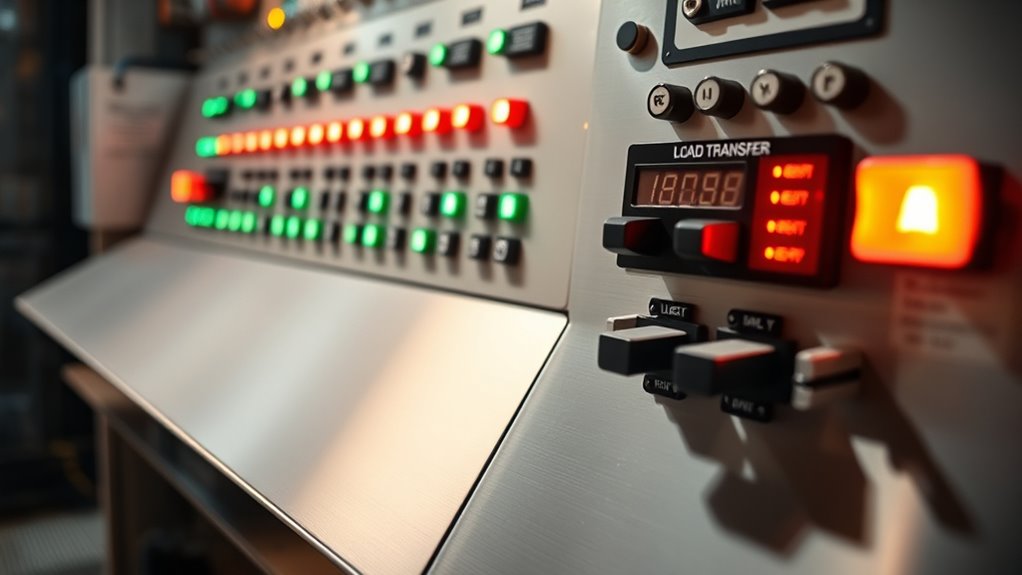
Before starting the generator, you should thoroughly inspect the control panel and load transfer system to guarantee they’re functioning correctly. Check for any fault codes, alarms, or warning lights on the display. Confirm that the Automatic Transfer Switch (ATS) is in standby or auto mode, and verify proper phase rotation and voltage at the transfer switch terminals. Ensure the generator configuration, including kW/kVAR settings and system communication, is correct. Inspect alternator connections, terminal tightness, and protective devices. Confirm the exciter and AVR indicators show normal operation. If you plan to parallel, calibrate the current channels at 25–75% load and verify phasing. This step helps prevent transfer issues during startup, guaranteeing a smooth transition between power sources and reliable generator operation.
Perform a No-Load Start and Observe Key Parameters
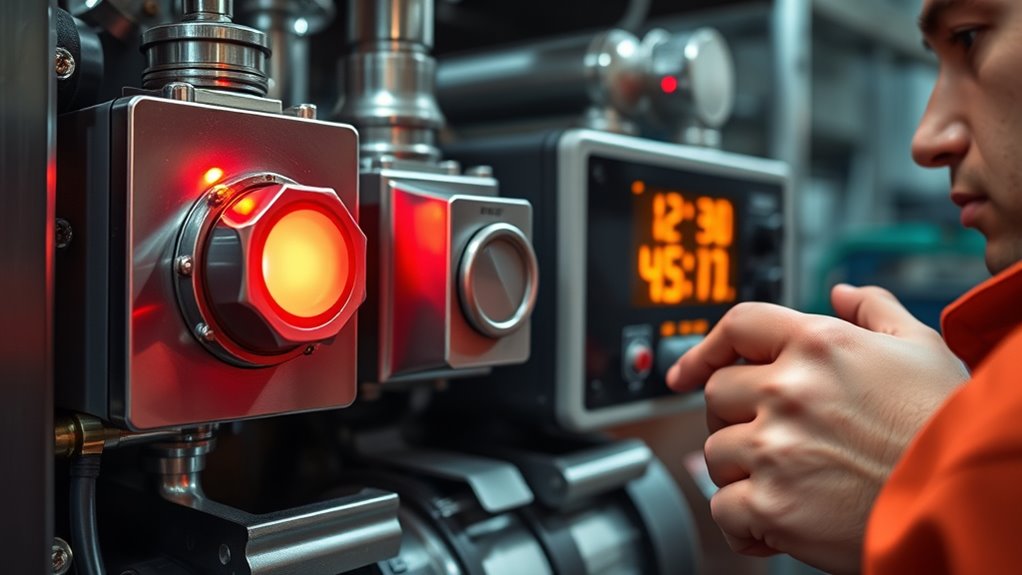
When you perform a no-load start, keep a close eye on the cranking behavior to guarantee the engine turns over smoothly. Check oil pressure and coolant temperature promptly to confirm proper circulation and avoid damage. Finally, observe the alternator output to verify it’s producing the correct voltage and frequency within specified limits.
Monitor Cranking Behavior
Ever wonder what to look for during a generator’s cranking phase? You should closely monitor how the engine turns over and guarantee it behaves normally. Watch for consistent cranking speed without hesitation or excessive noise. Keep an eye on oil pressure gauge; it should rise within seconds of starting. Listen for unusual knocking, sputtering, or misfires. Check coolant temperature rising steadily without surges. Observe the alternator for proper charging output.
- Cranking speed and smoothness
- Oil pressure rise within expected time
- Absence of unusual noises or vibrations
- Coolant temperature increase
- Proper alternator output and voltage
Check Oil & Temp Levels
Starting the generator without load allows you to verify that oil and temperature levels are within safe operating ranges. Check the engine oil level using the dipstick when the engine is cold, adding oil if necessary to reach the recommended mark. Confirm the oil pressure gauge indicates normal pressure within manufacturer specs during cranking. Next, monitor coolant temperature on the gauge to ensure it stays within safe limits as the engine warms up. Watch for any unusual fluctuations or alarms. If temperature or oil pressure readings fall outside acceptable ranges, shut down immediately and troubleshoot before proceeding. Properly maintaining oil and temperature levels prevents engine damage and ensures reliable operation during load. Record all readings and observations for future reference.
Observe Alternator Output
Performing a no-load start is essential to verify the alternator’s output and make certain the generator is functioning correctly before applying any load. Once the generator runs, carefully observe key parameters to ensure proper operation. Check that the voltage output is within the specified range, typically around 230V or 120V depending on your system. Monitor the frequency, which should be close to 60Hz (or 50Hz in some regions). Keep an eye on the alternator’s temperature and listen for unusual noises or vibrations. Confirm there are no warning alarms on the control panel. Confirm that the excitation system is working properly and that the voltmeter and frequency meter readings are stable.
- Check voltage stability and accuracy.
- Observe frequency consistency.
- Listen for abnormal noises or vibrations.
- Inspect for excessive heat or smoke.
- Verify absence of fault indicators or alarms.
Test Generator Under Load at Different Levels
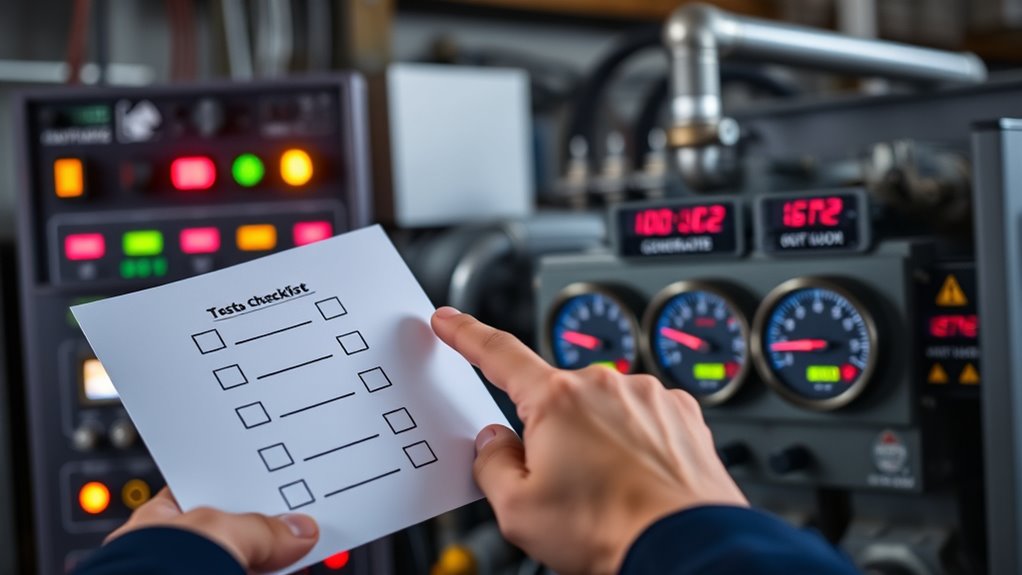
Testing your generator under load at different levels is essential to guarantee it can handle real-world demands reliably. Start by gradually increasing the load to 25%, then 50%, 75%, and finally rated capacity. Observe voltage, frequency, and temperature stability at each stage. Look out for abnormal noises, vibrations, or smoke, which could indicate issues. Record all readings, alarms, and any corrective actions taken. This process ensures the generator maintains performance and identifies potential problems early. Use the table below to track your results and keep everything organized:
| Load Level | Voltage/Frequency | Notes/Actions |
|---|---|---|
| 25% | ||
| 50% | ||
| 75% |
Proper testing guarantees reliable operation when you need it most.
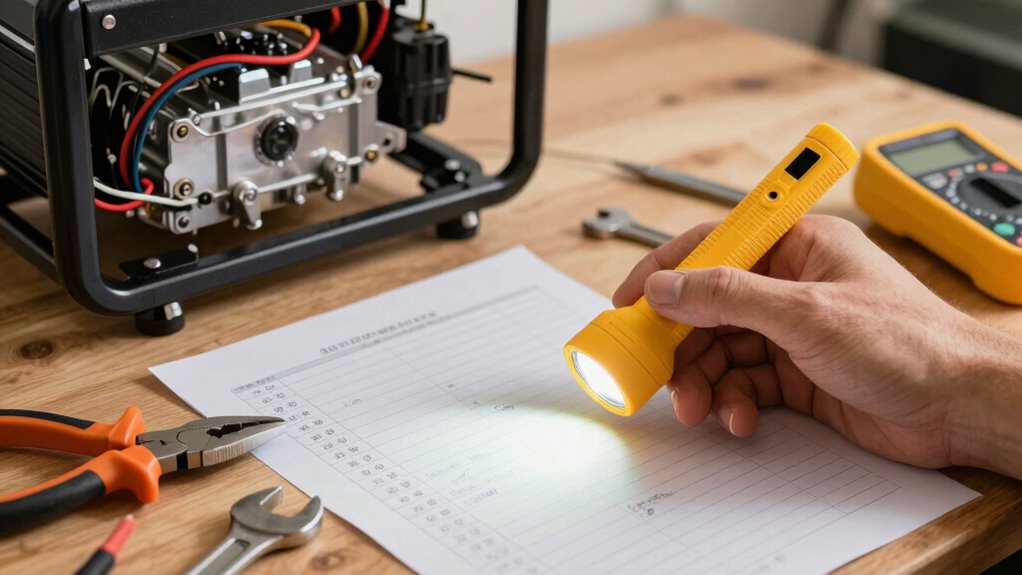
Record All Readings and Document the Process

Accurate record-keeping during generator start-up and load testing guarantees you have a clear history of performance and any issues that arise. You should document all readings precisely to track trends and identify potential problems early. Record key parameters such as voltage, frequency, oil pressure, coolant temperature, and load levels at each stage. Note any alarms, abnormal sounds, or vibrations, along with corrective actions taken. This documentation helps with troubleshooting and future maintenance planning. Keep a detailed log of the entire process, including start times, load levels, and environmental conditions. Clear records ensure accountability and streamline inspections.
- Log voltage, frequency, and engine oil pressure at each load level
- Record coolant temperature and radiator pressure
- Note any alarms, alarms reset, and corrective steps
- Document start and stop times, load levels, and environmental factors
- Keep a written summary of anomalies or issues encountered
Confirm Stable Operation Before Returning to Normal Mode
Before returning the generator to normal operation mode, it’s essential to verify that all parameters are stable and within acceptable limits. Carefully check the following to ensure reliable performance:
| Parameter | Status |
|---|---|
| Voltage and frequency | Stable, within specified ranges |
| Oil pressure and coolant | Normal, no fluctuations |
| Exhaust system | No leaks, secure insulation |
| Load conditions | Maintained at scheduled levels, no abnormalities |
| Control panel alarms | Cleared, no fault codes |
Confirm that all readings are within limits, no alarms are active, and physical inspections show no issues. Only then can you safely switch back to normal mode, knowing the generator is ready for continued operation.
Frequently Asked Questions
How Often Should I Perform a Generator Start-Up Checklist?
You should perform a generator start-up checklist at least monthly, or more frequently if recommended by the manufacturer or your operating schedule. Regular checks help guarantee safe and reliable operation, catching issues before they become major problems. If your generator runs often or in critical applications, consider weekly inspections. Always document each start-up, noting any irregularities, so you maintain a clear maintenance record and can address potential issues proactively.
What Safety Equipment Is Essential During Start-Up Procedures?
Safety equipment during start-up is your shield in a storm. You need a fire extinguisher nearby, ideally within 3 meters, to fight potential fires. Wear protective gear like gloves, goggles, and ear protection to guard against hazards. Make certain emergency stop buttons are accessible, and have a first aid kit on hand. This gear acts as your armor, turning risks into manageable challenges and keeping you safe amid the generator’s powerful heartbeat.
How Do I Interpret Abnormal Readings During Load Testing?
When you see abnormal readings during load testing, first compare them to manufacturer specifications. If voltage or frequency deviates considerably, it indicates potential issues like wiring faults, regulator problems, or overloading. Elevated temperatures or unusual noise can signal cooling or mechanical problems. If readings are abnormal, shut down the generator immediately, document the problem, and troubleshoot or call a technician to prevent damage or failure.
Can I Start a Generator Without Professional Training?
Starting a generator without professional training is like steering a ship without a captain’s map—you risk running aground. While small generators might be manageable, larger or critical units demand expertise to guarantee safety and proper operation. If you’re unsure, it’s best to consult a professional. They know the safety protocols, proper checks, and how to handle unexpected issues, keeping everyone safe and your equipment running smoothly.
What Are Common Signs of Generator Malfunction During Start-Up?
During start-up, you’ll notice warning lights or error codes on the control panel, unusual noises, excessive vibration, or abnormal smoke. The engine may struggle to crank, or oil pressure and coolant temperatures might stay outside normal ranges. You could also see voltage or frequency fluctuations, or strange smells indicating leaks or overheating. If any of these signs appear, stop the generator immediately and troubleshoot before proceeding.
Conclusion
Following this checklist might seem simple, but it actually taps into a proven concept: routine maintenance can prevent unexpected failures. Some say that a well-prepared start-up is like giving your generator a mini health check — ensuring it’s ready for anything. So, next time you’re half-asleep, trust that these steps aren’t just habit—they’re your best defense against surprises. After all, a little preparation today could save you a lot of trouble tomorrow.